Chatops-Driven Publishing
JOSS is coming up on it’s third birthday, and today we published our 500th paper. This has been no small feat and I’m hugely indebted to our wonderful group of volunteer editors and reviewers who have made all this possible. We had some help though too from our editorial robot Whedon. In this post I’ll spend some time introducing Whedon, it’s capabilities, and potential future directions.
It’s been about 2 year 10 months now since we started JOSS, our developer friendly journal for publishing open source research software. Today we passed 500 accepted papers - a remarkable achievement for our low cost, volunteer run journal.
When starting JOSS, I always thought that automation was going to be a big part of how things would work if the journal became successful. It turns out automation is a huge part of what we do. I like to call this Chatops-driven publishing.
When JOSS launched, I had a personal goal to keep the amount of custom infrastructure for the journal to an absolute minimum. This wasn’t the first journal I’d started and some of the challenges of building a more complex tool for projects such as The Open Journal of Astrophysics1 led me to believe that it was possible to build something really lean based upon the GitHub API and GitHub issues.
JOSS is essentially three things:
- A simple website that captures information about a paper when authors submit and lists accepted papers
- GitHub (issues) for the majority of the editorial process and GitHub (repositories) for hosting of article PDFs and Crossref meta data.
- An automated bot called Whedon.
» Whedon
Whedon is our editorial robot that hangs out on JOSS reviews and can be asked to do things by editors, authors, and reviewers. On reflection after publishing more than 500 papers over the last ~3 years, I think Whedon is the major innovation of JOSS.
Whedon is an example of a ‘Chatops’ bot – a term coined by GitHub for the way they deployed their robot ‘Hubot’. When JOSS was first launched, I was working at GitHub and got to see first hand how Hubot helped GitHub2, 3 streamline their operations and it seemed like the repetitive work involved in editing a journal was perfect for an automated bot.
The general idea behind Chatops is that robots (Hubot/Whedon) can be
used to do repetitive work in a reliable, repeatable way. At GitHub,
Hubot was available in the Slack channels and was able to do things like
deploy applications and services, monitor the health of core parts of
the GitHub infrastructure, defend against DDoS attacks, and even order
pizza. All of these functionalities were exposed in commands in chat
(Slack) e.g. hubot deploy github4.
For JOSS (and sister journal JOSE), Whedon is available on all of the review issues and has a range of abilities including: assigning reviewers and editors to a paper, compiling a preview of a submitted paper, carrying our pre-flight checks for submissions (e.g. looking for a valid open source license), and accepting a paper by depositing metadata with Crossref. Whedon understands the different roles of people involved in reviews on GitHub too which means authors and reviewers have access to a subset of commands, whereas editors and editors-in-chief have access to editorial commands that control the flow of the editorial process.
By having all of Whedon’s functionalities exposed as chatops commands, the vast majority of the editorial work at JOSS is heavily automated, and authors, editors, and reviewers learn how JOSS works by example. In fact, an author’s first exposure to JOSS after submitting is in a ‘pre-review’ issue where Whedon invites the author to make sure their auto-generated paper proof is formatted correctly and to suggest reviewers.

» How Whedon works
Under the hood, Whedon is a relatively small application (Whedon-API) that receives events from GitHub and handles them differently depending up the contents of the event. As an event is received, Whedon’s logic determines how to respond. This can simply be to say ‘hello’, or if asked, can do more complex things such as compile a PDF proof of the paper with Pandoc and check Crossref for missing DOIs in the references.
Lots of the paper processing (Pandoc stuff) is described in a RubyGem called Whedon too which does lots of the heavy lifting and can be run locally on an editor’s laptop if they want to process papers manually.
» Whedon’s powers
Initially Whedon’s abilities were mostly about assigning editors and reviewers to submissions. Over time though, Whedon’s abilities have grown substantially such that for the vast majority of submissions, a JOSS editor will exclusively work in GitHub Issues when doing their work (i.e. no other tools are needed, only instructions to Whedon in a GitHub issue).
Assign reviewers/editors
Whedon assigns an editor or reviewers to a paper by GitHub handle e.g.
@whedon assign @arfon as editor
Checking for an open source license and programming languages
When a new submission is opened, Whedon looks for an open source license
using Licensee (the same way
GitHub detects the license of a repository) and also tries to figure out
what programming languages are being used using
Linguist.
Starting reviews
Once the editor and reviewer(s) have been identified, Whedon sets up the
main JOSS review issue together with a review checklist for the
reviewers to follow @whedon start review
Help authors and editors find reviewers
We have a long list of potential JOSS reviewers which you can join
too :-). Whedon knows how
to call up this list: @whedon list reviewers
Update metadata during the review process
During the review process version numbers for software are often bumped,
DOIs for software archives created etc. Whedon knows how to update
these: e.g. @whedon set 10.xxxx/xxxxx as archive
Generate proofs of papers
As a review is carried out, the paper associated with the submission is
frequently updated. Authors, reviewers, and editors can all request a
new proof from Whedon: @whedon generate
pdf

Remind authors and reviewers
Sometimes an author or reviewer needs time to make updates to their
submission or carry out their review. Editors can ask Whedon to create
reminders: @whedon remind @reviewer in 2 weeks
Checking for missing DOIs
We deposit reference metadata with Crossref and like our references to
have DOIs (where they exist). Whedon uses the Crossref API to check for
potential missing DOIs: @whedon check references
Create final proofs of papers in pull requests on GitHub
When we’re getting close to accepting a paper, editors can ask Whedon to
generate final proofs of the JOSS paper and associated Crossref
submission metadata: @whedon accept
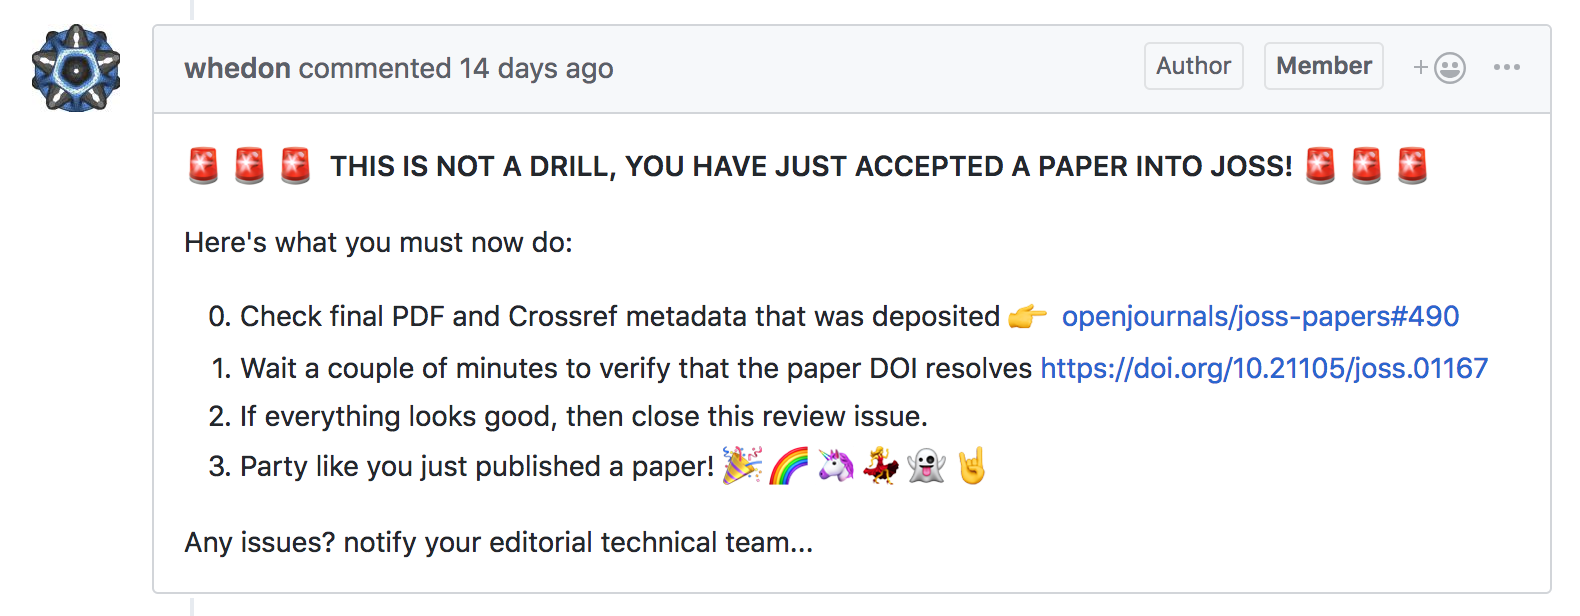
Accept the paper, for real
Once the editor is happy with the paper, one of our editors in chief can
then take the final step of accepting the paper into JOSS: @whedon
accept deposit=true
» Powers we might give Whedon someday too
It turns out, that pretty much everything you might want to do as part of the standard editorial process is something that can be automated and turned into a chatops command. Some future functionalities we’re planning on developing for Whedon include:
Smart reviewer recommendations using machine learning
We have a reviewer pool of ~600 volunteers5 and a growing
collection of papers and reviews to learn from. We think Whedon should
be able to make smart recommendations for potential reviewers based on
topic modelling, historical reviews, current review workload etc.
More editorial checks
Spelling, grammar, and paper formatting is still something our editors
have to spend some time on. JOSS papers are deliberately fairly
vanilla in their formatting so
layout issues are rare but having Whedon spot basic spelling and grammar
issues would be beneficial we think.
Support multiple submission types (e.g. LaTeX)
Currently all papers submitted to JOSS have to be in Markdown and we use
Pandoc to turn these into PDFs. Lots of our authors would rather work in
LaTeX and so supporting paper submissions in different forms has been on
our wishlist for a while6.
Possibly: Work outside of GitHub/Open Journals ecosystem
One deployment of Whedon supports multiple journals (currently JOSS and
JOSE), but Whedon can’t easily work outside of the Open Journals
ecosystem. Lots of what Whedon does is generically useful (e.g.
compiling papers, depositing metadata with Crossref) and we’ve thought
about generalizing some of Whedon to work outside of the Open Journals
ecosystem.
» Whedon: a key factor for keeping ours costs low
As described in our statement about our business model on the JOSS website, the Journal of Open Source Software is an open access journal committed to running at minimal costs, with zero publication fees (article processing charges) or subscription fees. In hindsight, the napkin-math summary for we outline here of ~$3.50 per paper turns out to be about right.
As with many (all?) journals, the major cost of publishing is human effort, and for JOSS this comes from our dedicated team of volunteer editors as well as all the amazing collection of reviewers on GitHub.
Close to three years in to this experiment with low cost, chatops-driven publishing, the submission rate to JOSS continues to grow, and we’re expanding our editorial team accordingly. We’ve also recently accounced a collaboration with AAS publishing to bring software review to their publications. It’s not clear what the next three years of JOSS will look like, but I’m pretty sure Whedon’s going to be a big part of it.


